MAP SCALE 2
LESSON 5
VIDEO STARTER: CONTOUR MAPPING
VIDEO STARTER: MORE ADVANCED

ACTIVITY: THIS WILL TAKE SOME NAVIGATING, BUT I ENCOURAGE YOU TO STRUGGLE THROUGH IT!
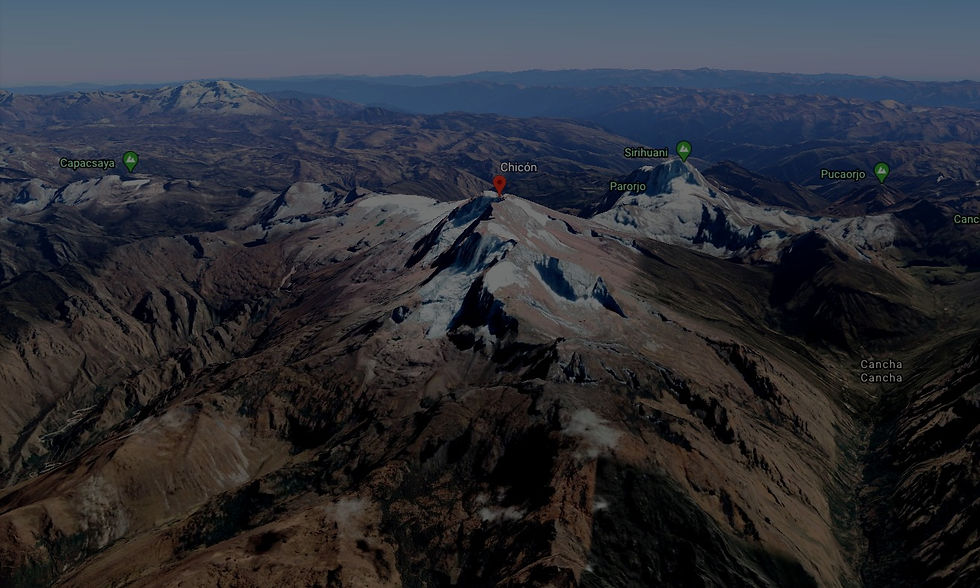
Google Earth: Explore, but search for a really cool looking mountain area. I recommend Chicon Mountain.
Screenshot your mountain and save it.
Contour Map Generator: Create a Contour Map of that mountain! Contour Intervals must be 50 meters! Screenshot and save the new map like the example above.
Submit your Screenshots to your Teacher through your learning Management system
FOR YOUR NOTEBOOK:
Lesson 5: Map Scale 2
Contour Mapping Vocabulary:
Contour Mapping - using lines to represent height intervals of the landscape.
Contour Lines - Lines on a topographic map that represent equal elevation. They also show intervals of elevation. The closer together, the steeper the slope of the surface.
Topographic Map - A representation of the geographical features of a region. It takes 2D features of a map into 3D.
Map Scale - Used to give you real world distances when looking at the map! You made these for your room.
Contour Interval - a numeric value that shows the vertical distance from one contour line to another.
Index Contour Lines - Darker contour lines that help map readers see elevation differences faster. (It's like counting by 5s instead of 1s)
The Rules of Contour Mapping:
Rule 1: Every section of the same contour line is at the exact same elevation.
Rule 2: Contour lines separate uphill from downhill.
Rule 3: Contour lines do not touch each other unless there is a vertical drop.
Rule 4: Contour lines can be darker than other contour lines. Sometimes map creators mark every 5th contour line as darker. It's known as an INDEX contour line.
Rule 5: The closer together the lines are, the steeper the area.

TURN IN THE MAP OF YOUR ROOM
DIRECTIONS
On your learning management system, turn in a picture of the Map of your Room from Lesson 4.
